Prepare your node (Standalone)
Preparing your Node
Your Nodes will be shipped to you closed and without batteries installed. Please follow the steps below to prepare your Node for commissioning:
StandaloneStandalone nodes don’t need an antenna. Leave it in the packaging.
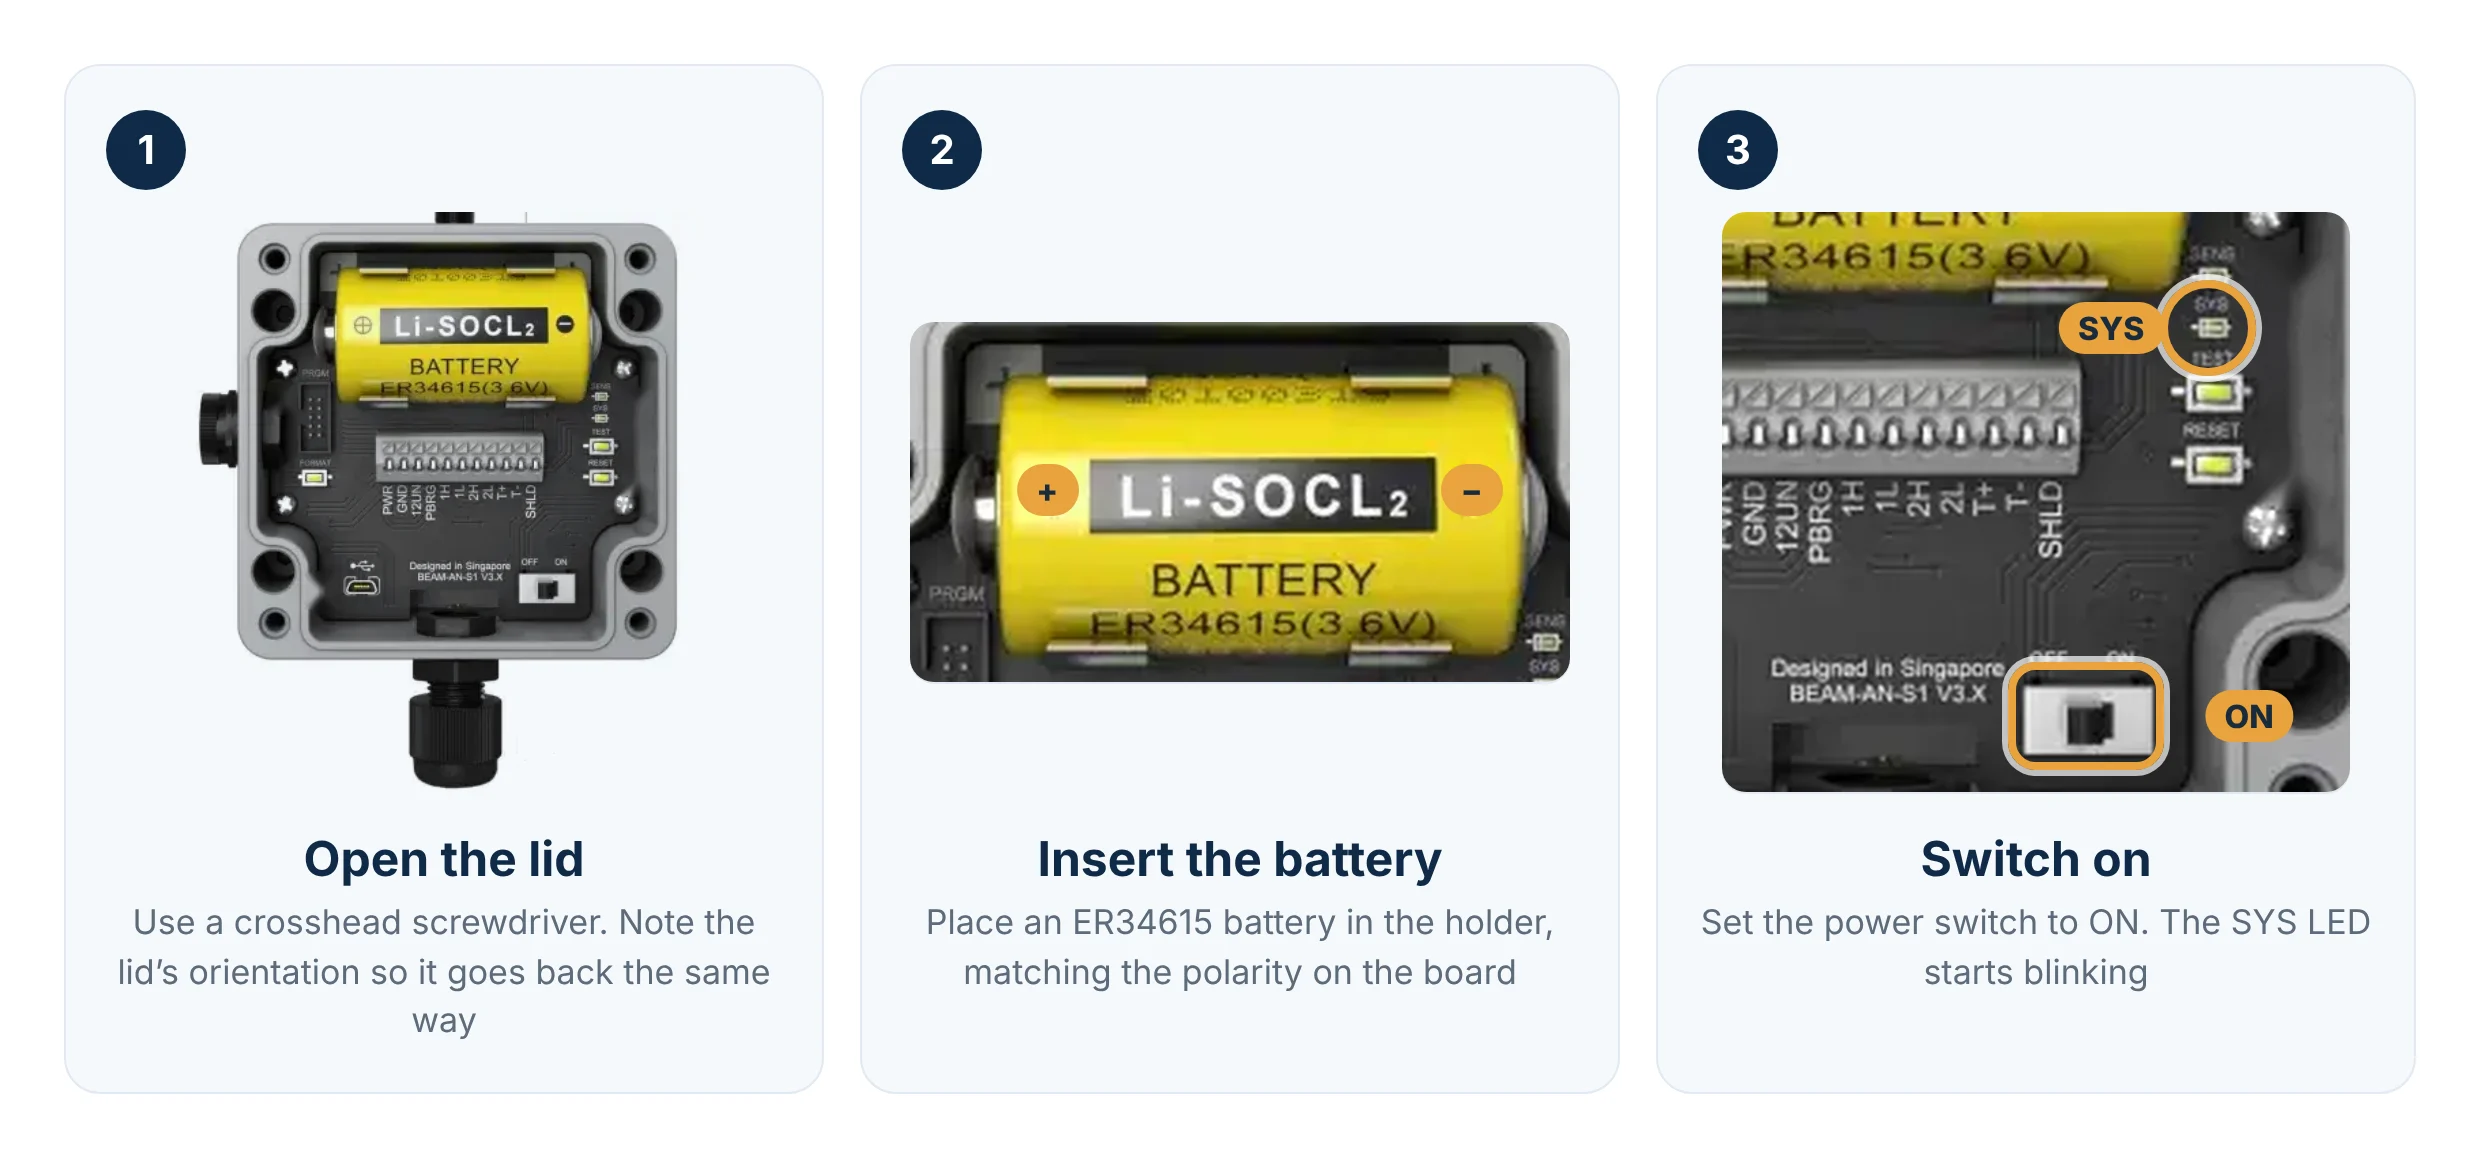
1. Using a crosshead screwdriver, open the lid of your Node to access the PCB within.
ImportantPlease take note of the lid’s orientation when removing it, so that you can replace it accordingly afterwards. The Node’s lid must be replaced accordingly to ensure that the Node’s enclosure is properly sealed.
2. Place a ER34615 battery into the Node's battery holder. Ensure that the battery orientation matches the polarities displayed on the board.
3. Switch the Node on by putting the power switch to the ON position. You will then see the Node turn on, indicated by the SYS LED blinking. You can also press RESET or TEST to look out for the LED blinking.