Create a project (Snape 1.0)
Once your gateway has been configured, you will be ready to create a project. The project is the home for all of the data collected in your deployment. Ackcio’s Snape software allows you to view your project and puts information on all of your nodes and the sensors connected to them, right at your fingertips.
Project Creation
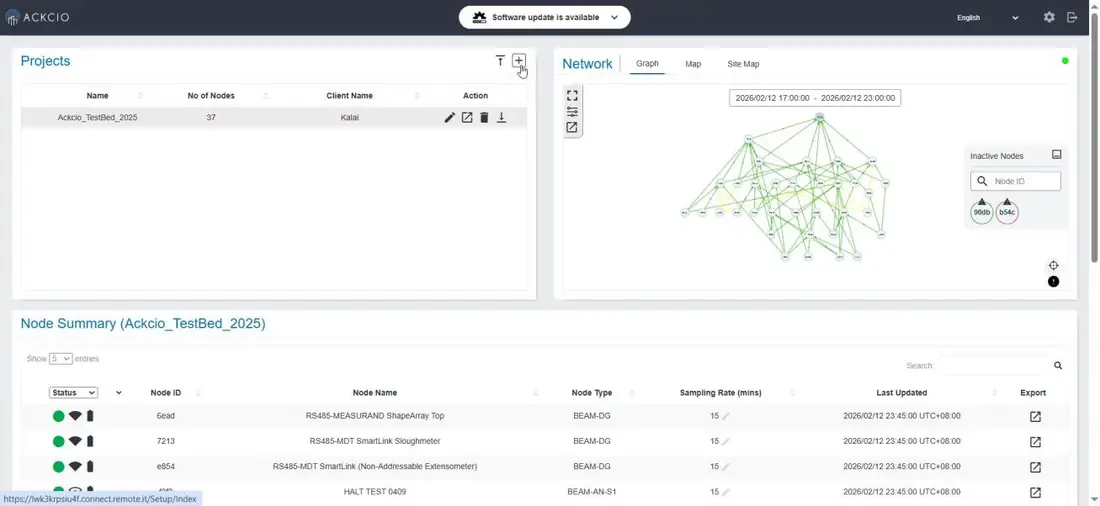
To create a project, you will need to access your gateway’s main dashboard. Once you’ve logged in, click on the “+” icon in the Projects panel.
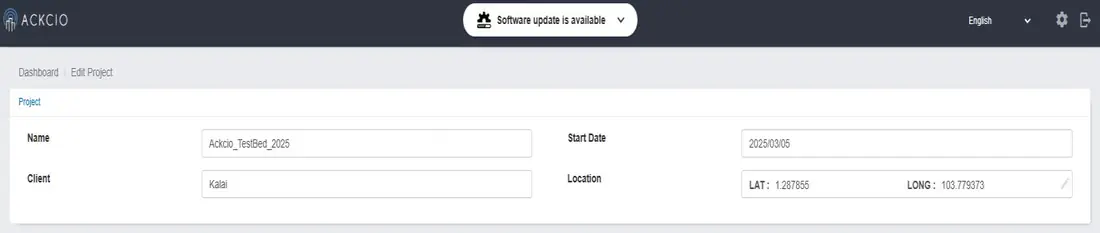
On the next page, fill in the project Name, Client, Start Date, and location information for your project. Then click Next.
On the “Nodes & Sensors” page, click Setup. For now, you’ll notice this page is empty. Once you’ve commissioned your nodes, you will be able to see node and sensor information on this page.
After clicking Setup, you will be taken back to the main dashboard page, you will see a popup in the bottom left corner indicating that your project has been created successfully. You will now see your project Name appearing with Number of Nodes indicated as “0”.